
How to Make Homemade Berry Jam
There’s something magical about the process of making homemade berry jam. The sweet aroma of fresh berries, the satisfying sound of bubbling pots, and the joy of creating something delicious from scratch all contribute to a truly memorable experience. Beyond the delightful taste, homemade berry jam allows you to capture the essence of the season and preserve memories in a jar. In this guide, we’ll explore the art of making homemade berry jam, from selecting the best berries to the step-by-step process of preserving these sweet memories.
Choosing the Right Berries:
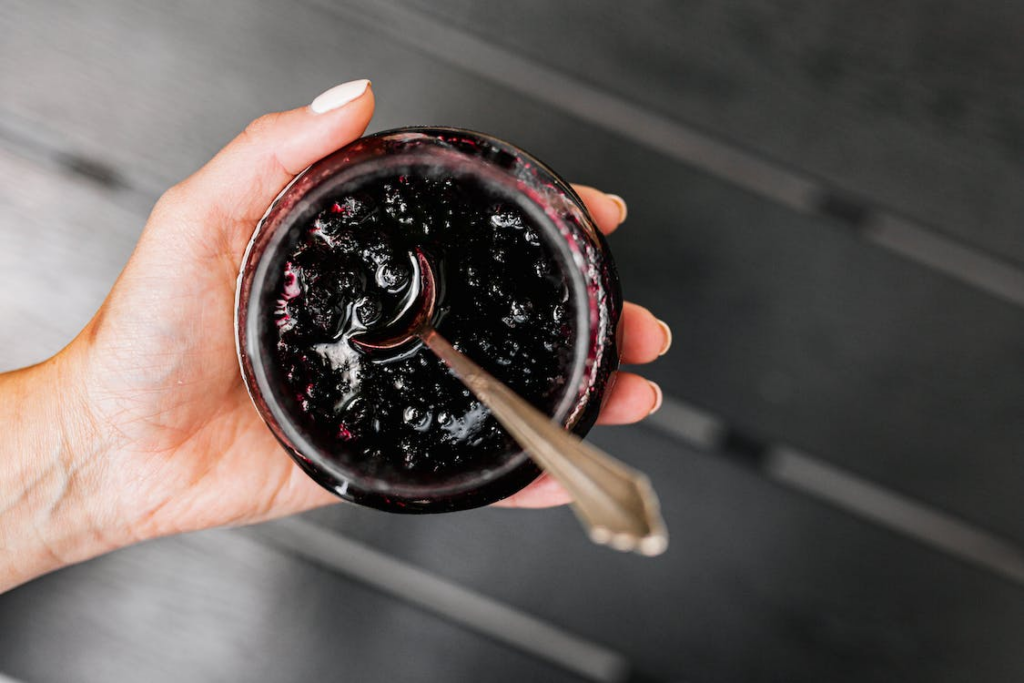
The first step in creating the perfect homemade berry jam is selecting the right berries. Whether you opt for classic strawberries, vibrant blueberries, or tangy raspberries, choosing ripe, fresh, and high-quality berries is essential. Farmers’ markets, local orchards, or your own backyard are excellent sources for obtaining the freshest berries, ensuring a flavorful and aromatic jam.
Ingredients:
- Fresh berries of your choice (strawberries, blueberries, raspberries, or a mix)
- Granulated sugar
- Pectin (optional, for a firmer jam)
- Fresh lemon juice
- Water
Equipment:
- Large pot
- Wooden spoon
- Mason jars with lids
- Canning funnel
- Ladle
- Jar lifter
- Kitchen thermometer
- Labels for jars
Step-by-Step Guide:
- Prepare the Berries:
- Wash the berries thoroughly and remove any stems or leaves.
- If using strawberries, hull and slice them. For larger berries, consider chopping them into smaller pieces.
- Combine Ingredients:
- In a large pot, mix the prepared berries with sugar, fresh lemon juice, and pectin (if using). The sugar acts as a natural preservative and helps thicken the jam.
- Cooking Process:
- Bring the mixture to a gentle boil, stirring frequently to prevent sticking.
- Use a kitchen thermometer to monitor the temperature. The jam is ready when it reaches around 220°F (104°C), ensuring a perfect consistency.
- Test for Jam Consistency:
- Perform a plate test by placing a small amount of jam on a chilled plate. Allow it to cool for a minute, then push the jam with your finger. If it wrinkles and holds its shape, the jam is ready.
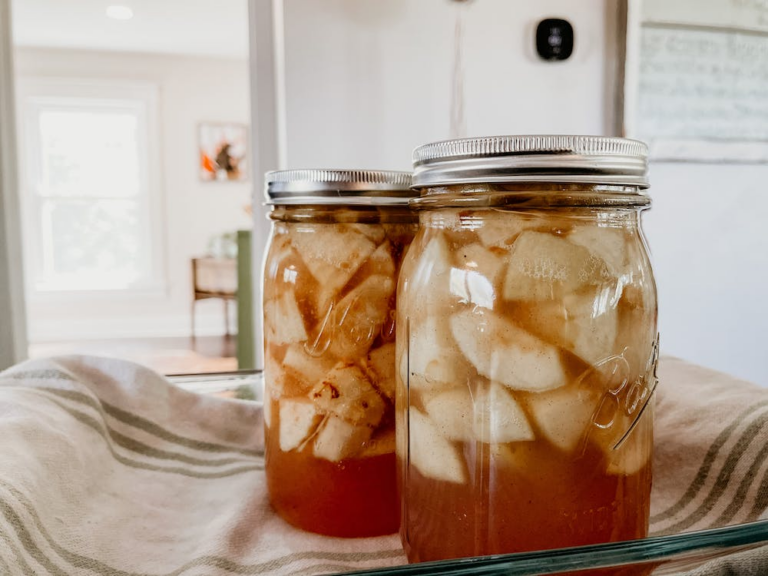
- Prepare Jars:
- Sterilize your mason jars by placing them in a boiling water bath or running them through the dishwasher.
- Keep the jars warm until ready to fill.
- Fill Jars:
- Using a ladle and canning funnel, carefully fill the warm jars with the hot jam, leaving about ¼ inch headspace.
- Seal and Process:
- Wipe the jar rims with a clean, damp cloth to ensure a proper seal. Place the lids on the jars and screw on the metal bands.
- Process the jars in a boiling water bath for about 10-15 minutes to create a vacuum seal.
- Cool and Store:
- Allow the jars to cool completely before checking the seals. Press down on the center of each lid; if it doesn’t pop back, the jar is sealed.
- Label the jars with the jam flavor and date before storing them in a cool, dark place.
Conclusion:
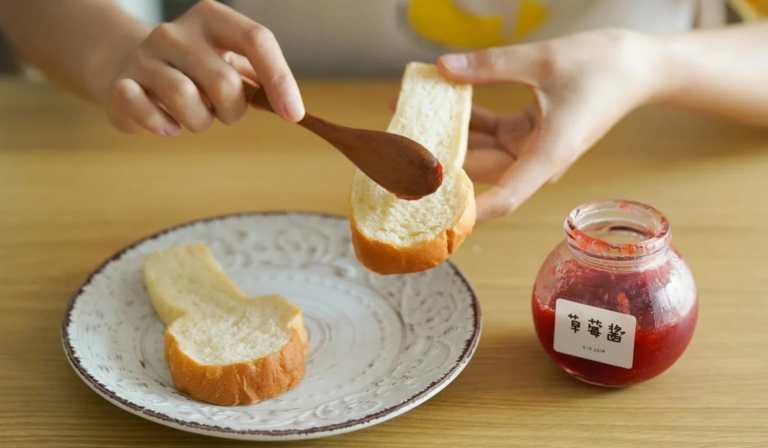
Making homemade berry jam is a delightful and rewarding process that not only results in a delicious spread for your morning toast but also preserves the memories of the season’s bounty. Share your homemade jam with friends and family, and savor the joy of gifting a piece of your kitchen-crafted nostalgia. With each jar, you’ll be able to relive the sweetness of summer or the crispness of fall, making every batch of homemade berry jam a testament to the art of preserving memories in a jar.